Der Scanner wird mit der neuesten Firmware ausgeliefert. Wenn der Scanner längere Zeit nicht verwendet wurde, muss die Firmware aktualisiert werden.
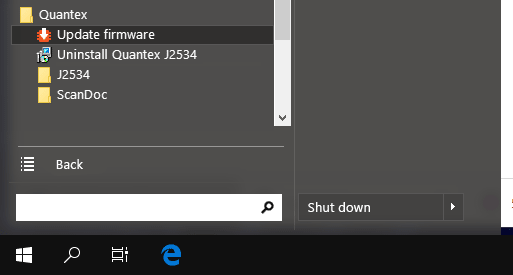
SD Boot Loader wird benötigt, um die Scandoc Scanner-Firmware im J2534-Modus zu aktualisieren.
Wann muss ich die Firmware im Scanner aktualisieren:
In der ersten Version des ScanDoc Scanners (im Metallgehäuse) können Sie auch die IP-Adresse des Geräts mit diesem Programm ändern.
Dies ist nur notwendig, wenn Sie mit einem alten Programm gearbeitet haben und jetzt auf ein neues Programm umsteigen oder einen neuen Scanner kaufen. Wenn Sie in einem neuen Programm gearbeitet haben, überspringen Sie diesen Schritt.


Wenn der Adapter aus irgendeinem Grund nicht aktualisiert wurde, können Sie den Boot-Modus verlassen, indem Sie die Stromversorgung des Geräts ausschalten und dann wieder einschalten.
SD Boot Loader kommuniziert zuerst mit dem Scanner und liest seine Seriennummer aus, dann kommuniziert er mit dem Quantex-Server und lädt die Firmware für Ihre Seriennummer herunter.
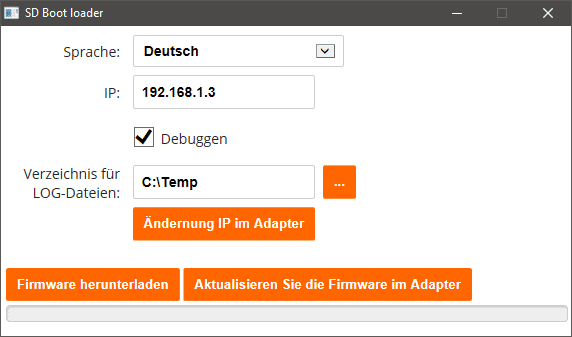
In der ersten Version des ScanDoc Scanners (im Metallgehäuse) können Sie die IP-Adresse ändern.
Die Schaltfläche Ändernung IP im Adapter dient nur zum Ändern der IP-Adresse im Adapter.
Das Kontrollkästchen Debug ist notwendig, um die LOG-Datei über den Programmablauf zu speichern (Sie können sie uns zusenden, wenn Sie Probleme mit dem Programm haben). Das Verzeichnis für die Speicherung von LOG-Dateien kann im nächsten Punkt geändert werden.


